
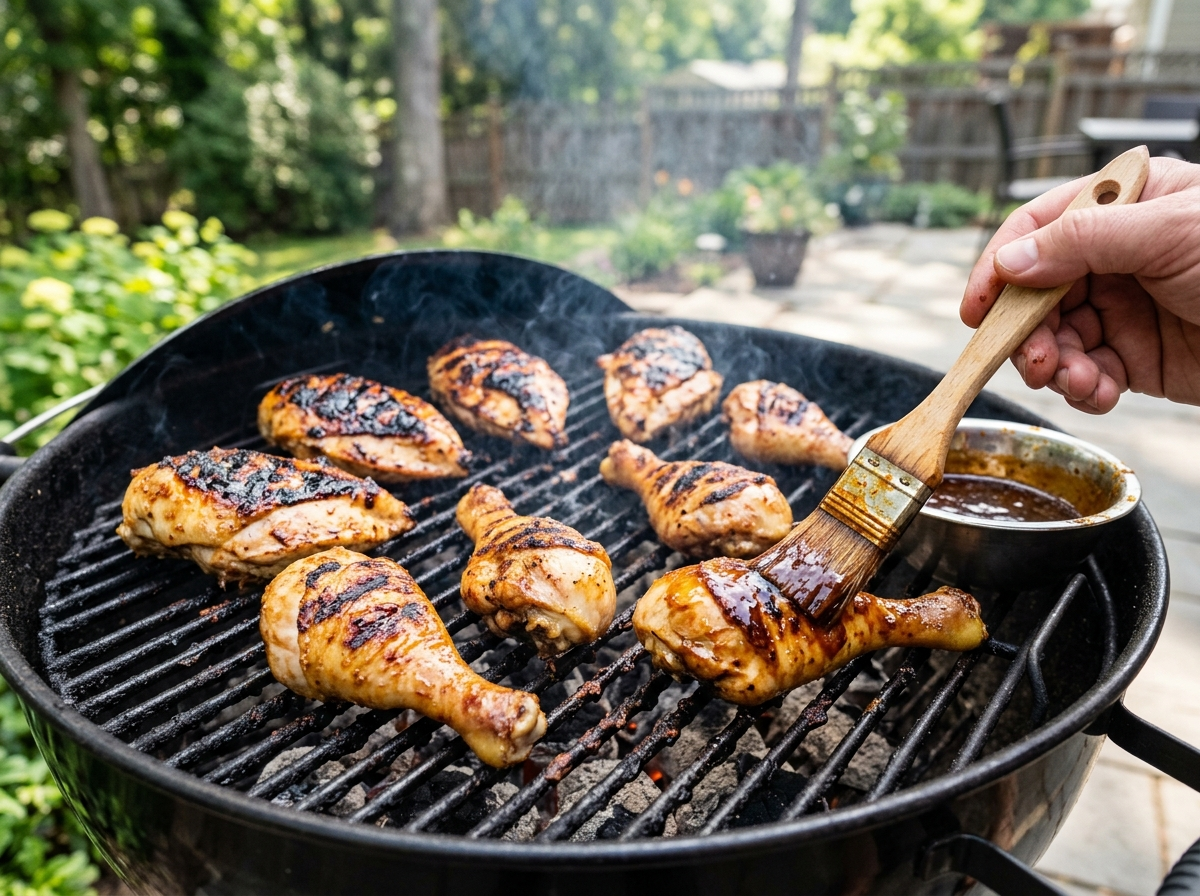
You know that moment when you cut into a grilled chicken breast and the outside is charred black but the middle is still pink and rubbery? That happened to me more times than I’d like to admit. Learning how to grill chicken properly changed everything. The secret isn’t a fancy marinade or an expensive grill. It’s understanding heat, timing, and one temperature number you need to memorize. This guide walks you through the whole process so your chicken comes off the grate juicy, safe, and worth bragging about.
Why Your Grilled Chicken Keeps Turning Out Dry
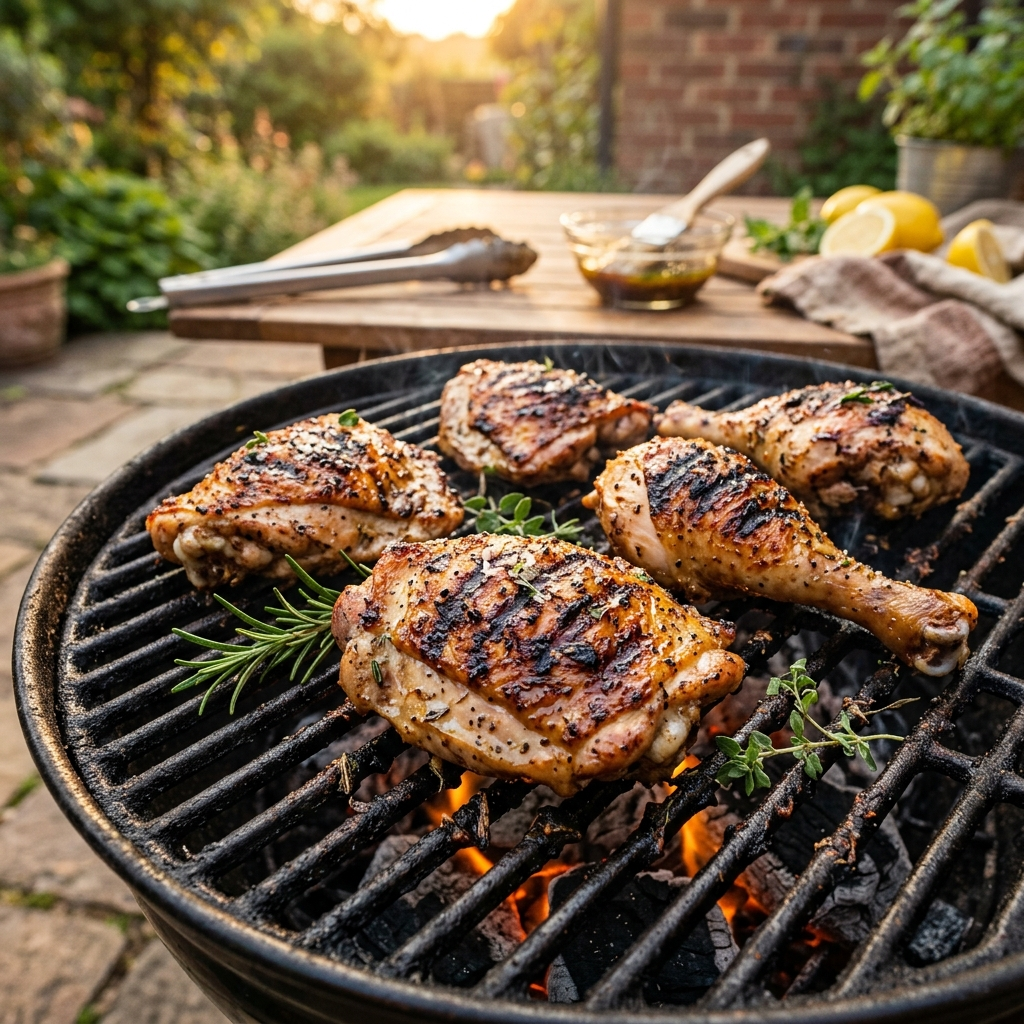
Chicken breast is one of the least forgiving cuts of meat you can throw on a grill. It has almost no fat, very little connective tissue, and a shape that works against you — thick in the middle, thin on the edges. Put that on screaming-hot grates and the thin ends overcook before the thick center even gets close to safe.
Most people crank the heat, toss the chicken on, and walk away for ten minutes. By the time they flip it, the damage is done. The outside is leather and the inside is either raw or just barely cooked through with zero moisture left.
The fix starts before you even light the grill. You need to even out the thickness of the meat, control your heat zones, and pull the chicken off the grill a few degrees before you think it’s done. That last part sounds counterintuitive, but it’s the single biggest difference between dry chicken and juicy chicken. We’ll get into exactly why in the temperature section below.
Grilling Chicken Breast on a Gas Grill: Step by Step
Gas grills are the most common setup for backyard cooks, and they give you a real advantage: precise temperature control. You can set up different heat zones without rearranging coals or waiting for flames to die down. Here’s how to use that to your advantage when grilling chicken breast on a gas grill.
Pound It Even
Grab a boneless, skinless chicken breast and look at it from the side. One end is probably twice as thick as the other. That’s your problem right there. Place the breast between two sheets of plastic wrap and use a meat mallet, a rolling pin, or even the bottom of a heavy skillet to pound it to an even thickness — about three-quarters of an inch all the way across.
This single step cuts your cooking time and means the whole piece finishes at the same moment. No more dry edges and raw centers.
Set Up Two-Zone Heat
Turn on only half of your burners and leave the other half off. You want the lit side at medium-high heat, roughly 400–450°F, and the unlit side sitting around 300°F. This gives you a searing zone and a gentle finishing zone on the same grill.
If you’re not sure what your grill’s temperature actually is — and most built-in lid thermometers are wildly inaccurate — pick up a cheap infrared thermometer or a clip-on grate thermometer. Knowing your real cooking temperature takes the guesswork out of the whole process. For a deeper look at how direct and indirect heat compare, check out this breakdown of grilling vs BBQ and what the difference really means.
Grill, Flip, and Finish
Place the chicken on the hot side of the grill at a slight diagonal to the grates. Leave it alone for about five to six minutes. Don’t poke it, don’t press it, don’t lift it to peek. You want those grates to build a clean release and some nice grill marks.
Flip the chicken and move it to the cool side of the grill. Close the lid. Let it finish cooking gently for another five to eight minutes, depending on thickness. This two-zone method is the closest thing to a guarantee you’ll get in grilling. The hot side gives you color and flavor. The cool side brings the interior up to temperature without torching the outside.
Grilled Chicken Temperature: When Is It Really Done?
This is where most people get nervous, and rightfully so. Undercooked chicken is a genuine food safety risk. The USDA recommends cooking all poultry to an internal temperature of 165°F, measured at the thickest part of the meat with an instant-read thermometer. If you want to read the official guidance yourself, the USDA’s food safety page on poultry lays it out clearly.
Food Safety Note: The temperature guidelines in this article are based on USDA recommendations for home cooking. They are general information, not a substitute for professional food safety advice. Always use a calibrated meat thermometer to verify doneness, and keep raw chicken away from ready-to-eat foods to avoid cross-contamination. For more on the temperature ranges where bacteria thrive, read about the food safety temperature danger zone.
Pull It Early, Let Carryover Do the Rest
Here’s the trick that separates good grilled chicken from great grilled chicken. Pull the breast off the grill when your thermometer reads 155–160°F, not 165°F. Then let it rest on a cutting board for five to ten minutes.
During that rest, the internal temperature will continue to climb by about five to ten degrees thanks to residual heat moving from the outside of the meat toward the center. This is called carryover cooking, and it’s the reason your chicken can hit the safe 165°F mark without spending an extra minute on the grill drying out. If you want to understand the science behind this, this piece on carryover cooking and what happens after you pull meat off the heat explains it in plain terms.
If you wait until the thermometer reads 165°F on the grill and then let it rest, you’ll overshoot to 170–175°F. At that point, the muscle fibers have squeezed out most of their moisture and no amount of sauce will bring it back.
Grilling Chicken Thighs, Drumsticks, and Wings
Chicken breast gets all the attention, but dark meat is far more forgiving on the grill. Thighs and drumsticks have more fat and connective tissue, which means they stay juicy even if you leave them on a few minutes too long.
Bone-in, skin-on thighs are my favorite thing to grill. Start them skin-side down over medium heat — not screaming hot — and let the fat render slowly for about eight to ten minutes. Flip them and finish over indirect heat until the internal temperature reaches 175–185°F. Dark meat actually tastes better at a higher temperature than breast because the extra heat breaks down collagen into gelatin, making the meat tender instead of tough. If you want a more detailed walkthrough, this guide on how to tell when chicken thighs are done covers the visual and textural cues beyond just temperature.
Wings need a different approach entirely. They’re small, so they cook fast, but you want crispy skin. Use medium-high direct heat and turn them frequently — every three to four minutes — so no single side burns. They’re done around 175°F internally, which usually takes about 20–25 minutes total.
| Chicken Cut | Target Internal Temp | Approximate Grill Time | Best Heat Method |
|---|---|---|---|
| Boneless breast | 165°F (pull at 155–160°F) | 10–14 minutes | Two-zone |
| Bone-in thigh | 175–185°F | 25–35 minutes | Indirect, then sear |
| Drumstick | 175–185°F | 25–35 minutes | Indirect, then sear |
| Wing | 175°F | 20–25 minutes | Direct, medium-high |
These times assume a grill temperature around 375–425°F and will vary based on the size of your chicken pieces and your specific grill. Use them as a starting point, not a rule. Your thermometer is the only thing that tells you the truth.
Marinades, Brines, and Rubs: What Actually Works
You can grill a perfectly good chicken breast with nothing but salt, pepper, and proper technique. But if you want extra flavor and a little insurance against dryness, a soak or a coating helps.
A simple brine — just water, salt, and a little sugar — works wonders for chicken breast. Soak the meat for 30 minutes to two hours before grilling. The salt changes the protein structure in the meat so it holds onto more moisture during cooking. You don’t need a complicated recipe. A quarter cup of kosher salt dissolved in four cups of water is enough for a couple of breasts.
Marinades add flavor more than they add moisture. Acidic ingredients like lemon juice, vinegar, or yogurt can tenderize the surface of the meat, but they won’t penetrate deep into a thick breast. If you’re using a marinade, 30 minutes to four hours is the sweet spot. Leave chicken in an acidic marinade overnight and the surface will turn mushy, not tender.
Dry rubs are the simplest option and work especially well on dark meat with skin. A mix of salt, paprika, garlic powder, and a little brown sugar gives you great color and a slightly caramelized crust. If you’re curious about the bigger picture of wet vs. dry seasoning, this comparison of marinade vs rub breaks down when each one makes the most sense.
One thing I’d skip: those bottled “grill marinades” loaded with sugar and corn syrup. They burn fast over direct heat and leave you with a blackened, bitter crust before the inside is cooked. If you want sweetness, a light brush of honey or barbecue sauce in the last two minutes of grilling does the job without the char.
Resting Your Chicken (Don’t Skip This)
I know you’re hungry. I know the chicken looks amazing and smells even better. But cutting into it the second it comes off the grill is the fastest way to lose all the juices you just worked so hard to keep inside.
When chicken cooks, the muscle fibers contract and push moisture toward the center of the meat. If you slice it immediately, all that liquid pours out onto your cutting board. Give it five to ten minutes of rest and the fibers relax, redistributing the juices throughout the meat. The difference is visible. Cut into a rested chicken breast and the juices stay in the meat. Cut into an un-rested one and your board looks like a puddle.
This applies to every cut, not just breast. Thighs, drumsticks, wings — they all benefit from a short rest. For a deeper explanation of the science behind this step, read about why resting meat matters and what’s actually happening inside the muscle fibers while you wait.
Frequently Asked Questions
How long do you grill chicken on a gas grill?
For a boneless, skinless chicken breast pounded to an even three-quarter-inch thickness, plan on about 10–14 minutes total over two-zone heat. That’s roughly five to six minutes on the hot side for sear and color, then five to eight minutes on the cool side with the lid closed to finish cooking through. Bone-in pieces take longer — usually 25–35 minutes — because the bone insulates the meat near the center. Always rely on your meat thermometer rather than the clock.
What temperature should grilled chicken be?
The USDA recommends an internal temperature of 165°F for all poultry, measured at the thickest part of the meat. For chicken breast, the best approach is to pull it off the grill at 155–160°F and let carryover cooking bring it up to 165°F during the resting period. Dark meat like thighs and drumsticks tastes better at 175–185°F because the higher temperature breaks down connective tissue.
Should I grill chicken on direct or indirect heat?
Use both. Start boneless chicken breasts over direct heat to get a good sear, then move them to indirect heat to finish cooking gently without burning the outside. For bone-in pieces, reverse the order — start on indirect heat to cook the interior, then finish over direct heat to crisp the skin. Using only direct heat is the most common reason grilled chicken ends up charred on the outside and undercooked inside.
The next time you fire up the grill, resist the urge to blast everything on high and walk away. Even out your chicken, set up two heat zones, watch your thermometer, and let the meat rest before you cut into it. Those four steps will put you ahead of most backyard cooks, and your chicken will actually taste like something you’d order at a restaurant. Now go grab some chicken, light the grill, and put this into practice this weekend.

1 Comment