You pull a tray of wings out of the oven. The skin looks golden and crispy. You bite into one and — ugh — the meat near the bone is pink and rubbery. Sound familiar? Wings are tricky because they’re small, oddly shaped, and cook unevenly. The drumette takes longer than the flat, and a jumbo wing needs more time than a small party wing. Here’s exactly how to tell when chicken wings are done so you never serve an undercooked batch again.
The Only Number That Truly Matters: Chicken Wing Internal Temp
If you take one thing away from this article, let it be this: the most reliable way to check chicken wings doneness is with an instant-read meat thermometer. Every visual cue and kitchen trick I’m about to share is useful, but none of them beat an actual temperature reading.
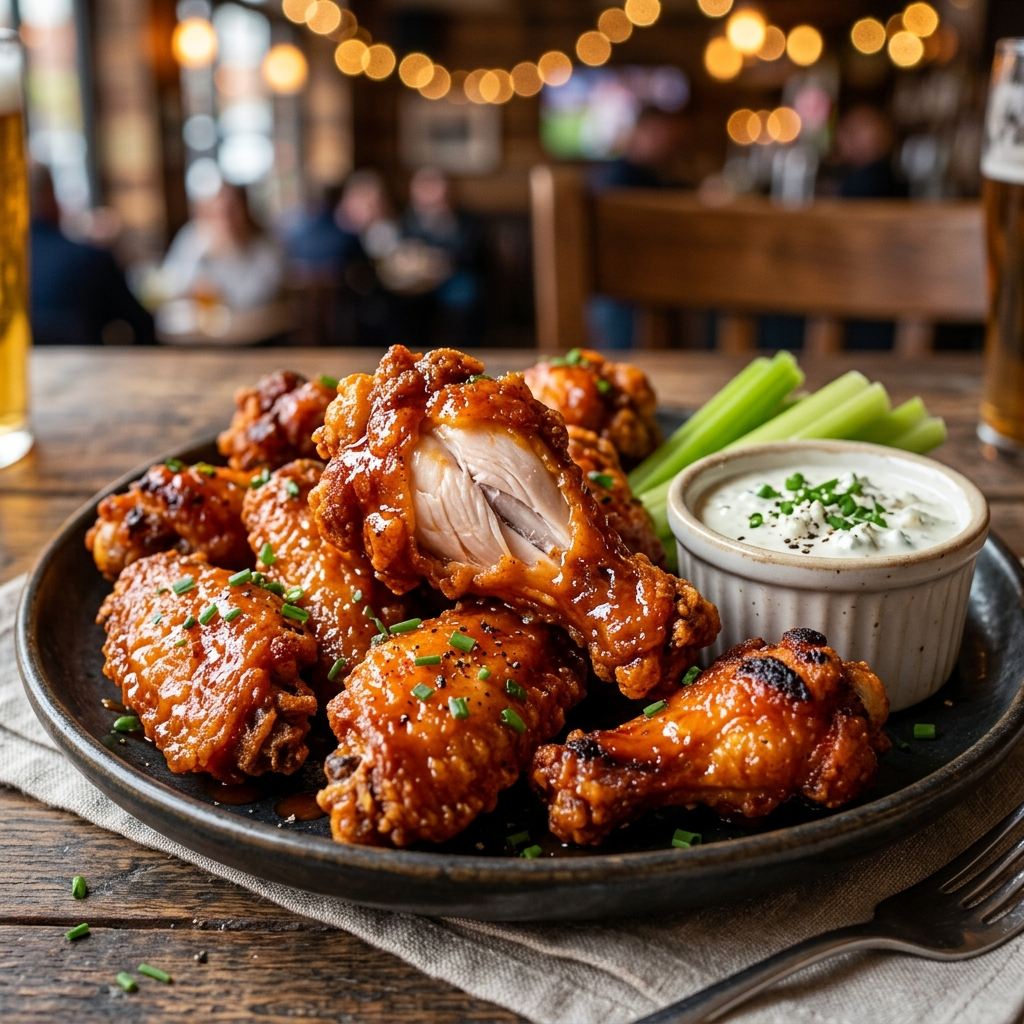
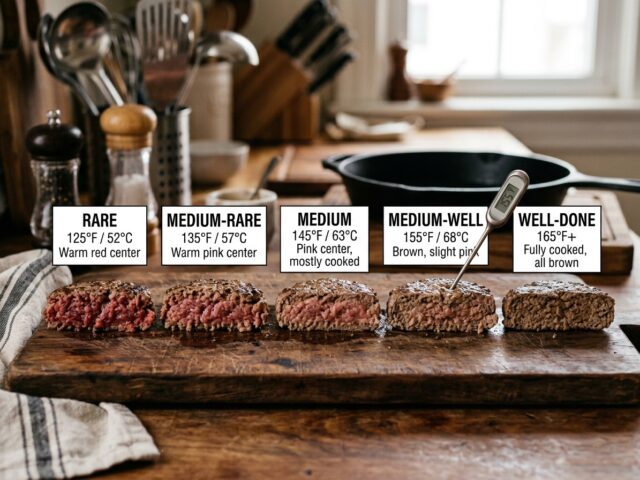
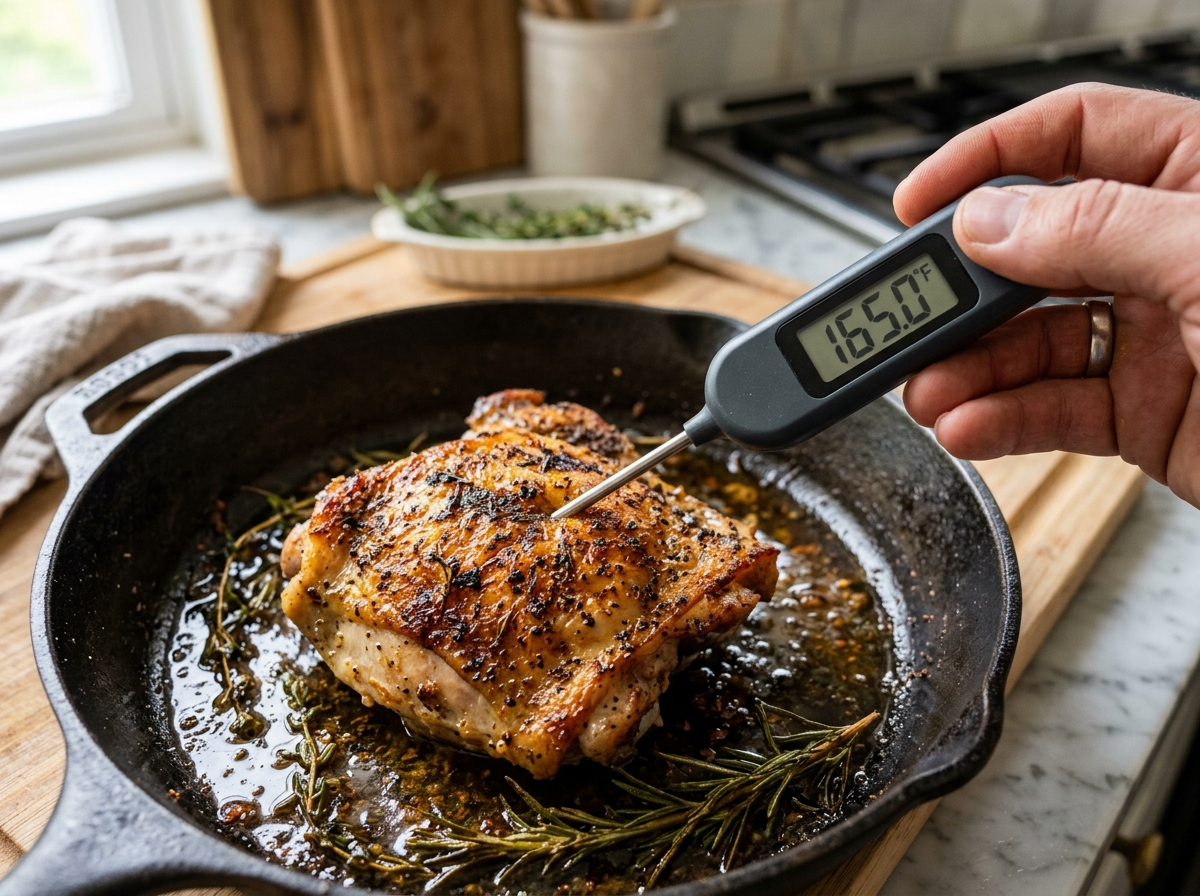
The USDA recommends cooking all poultry to a minimum internal temperature of 165°F (74°C). At that temperature, harmful bacteria like salmonella are destroyed almost instantly. This is the safety floor, and you should never serve wings below it. You can verify the latest guidelines on the USDA’s meat and poultry cooking chart.
To get an accurate reading, insert the thermometer probe into the thickest part of the drumette, avoiding the bone. The bone conducts heat differently than the meat and will give you a false high reading. If you’re worried that poking the meat will let all the juices escape, don’t be — that’s largely a kitchen myth. A thin probe causes minimal juice loss, and the information you gain is worth far more than the tiny amount of moisture you might sacrifice.
One more thing worth mentioning: if you’re cooking a big batch for a party, don’t just temp one wing and assume the rest are fine. Check at least three or four wings from different spots on the tray or grill. Wings near the edges cook faster than wings bunched in the middle, and you want to make sure the slowest-cooking wing in the batch has reached the safe zone. Understanding how the food safety temperature danger zone works will help you see why this matters so much.
Why 165°F Is Safe but 175–185°F Tastes Better
Here’s where things get interesting, and where most articles stop short. Yes, 165°F is safe. But safe and delicious aren’t always the same thing.
Wings are dark meat. They’re loaded with connective tissue and collagen, especially around the joints. At 165°F, that collagen hasn’t fully broken down yet. The result? Wings that are technically safe to eat but still have a slightly chewy, rubbery texture near the bone. You know that unpleasant tug when you bite into a wing and the meat clings stubbornly to the bone instead of sliding off? That’s undercooked collagen.
When you let the chicken wing internal temp climb to 175–185°F, something good happens. The collagen melts into gelatin, and the meat becomes tender and juicy. The skin also gets crispier at the higher end of that range because more moisture has rendered out from underneath it. This is the same principle that makes chicken thighs taste better at higher temps — if you’ve ever wondered how to tell when chicken thighs are done, you’ll find the logic is nearly identical.
So aim for 175°F as your sweet spot. You’ll get safe, tender, crispy wings every time. Just be careful not to push past 190°F, or the meat will start to dry out and shrink excessively.
Food Safety Note: The temperature guidance in this article is based on USDA recommendations for home cooking. It is general information and not a substitute for professional food safety advice, especially if you’re cooking for a commercial operation, a large event, or individuals with compromised immune systems.
How to Check Chicken Wings Doneness Without a Thermometer
I get it. Maybe you’re at a tailgate and forgot your thermometer. Maybe you’re deep-frying 50 wings and don’t want to pull each one out to temp it. Visual and tactile cues can absolutely help you judge doneness, and experienced cooks use them all the time. Just know that these methods are your backup plan, not your primary strategy.
The Juice Test
Grab a fork or the tip of a paring knife and pierce the thickest part of the drumette. Watch the liquid that seeps out. If the juices run clear — no pink, no red, no cloudy tinge — the wing is very likely done. If the juices are pink or bloody, put it back. It needs more time.
This is one of the oldest tricks in the kitchen, and it works reasonably well for wings. The catch is that “clear” can be subjective, especially if you’ve marinated the wings in something dark like soy sauce or a heavy rub. A dark marinade can tint the juices and make them look suspicious even when the meat is fully cooked. In those cases, you really do need a thermometer to be sure.
The Meat Pull-Back Test
Look closely at the narrow end of the drumette and the exposed tips of the flat (also called the wingette). As chicken cooks, the meat contracts and shrinks. When wings are fully done, the meat pulls back slightly from the bone ends, leaving a small gap of exposed bone at the joints. It’s subtle, but once you know what to look for, it’s easy to spot.
If the meat still looks like it’s hugging the bone tightly all the way to the tip, the wing probably needs another five to ten minutes. This test works best for baked and grilled wings where you can clearly see the bone ends. It’s harder to judge on heavily breaded or sauced wings.
The Joint Wiggle Test
This one takes a little practice but is surprisingly reliable. Pick up a flat and grab the smaller end. Gently twist the joint. If the wing is fully cooked, the joint will feel loose and wiggle easily, almost as if it wants to separate on its own. If you feel stiff resistance, the connective tissue inside hasn’t broken down yet, and the wing needs more time.
Think of it like testing a door hinge. A stiff hinge means something’s still holding it together tightly. A loose hinge means the structure has relaxed. That’s essentially what’s happening inside the wing joint as the collagen converts to gelatin.
Checking Chicken Wings Doneness by Cooking Method
The way you cook your wings changes the visual cues you should look for. A wing that looks perfectly done coming out of a deep fryer might look very different from one coming off a smoker, even if both have hit the same internal temperature.
Baked or Air-Fried Wings
Oven-baked and air-fried wings typically need 40 to 50 minutes at 400–425°F. You want the skin to be deeply golden brown and visibly crispy, not pale or blond. Flip the wings halfway through cooking so both sides brown evenly.
The biggest trap with baked wings is pulling them too early because the skin looks done. The hot, dry air of an oven can crisp the skin before the interior has fully cooked, especially with larger drumettes. This is where carryover cooking works in your favor. When you pull the wings out of the oven, their internal temperature will continue to rise by about 5°F over the next few minutes as the residual heat redistributes. So if your thermometer reads 170°F when you pull the tray, you’ll likely coast up to 175°F while the wings rest.
For air fryer wings, the cooking time is shorter — usually 20 to 25 minutes at 380–400°F — because the circulating air cooks more aggressively. Check a few minutes early, since air fryers vary a lot between brands.
Deep-Fried Wings
Fried wings cook fast. At 350–375°F oil temperature, most wings will be done in 8 to 12 minutes. The most reliable visual cue for fried wings is the float test. Raw wings sink in hot oil. As they cook and moisture evaporates from the meat, they become less dense and rise to the surface. Once the wings float, give them another 60 to 90 seconds for that final layer of crisp, then pull them.
The exterior should be a rich, even golden brown. If the wings are browning too fast but still sinking, your oil is too hot. Drop the temperature by 15–20 degrees and let them cook a bit longer. Frying is one method where the internal temperature can climb quickly, so if you’re temping fried wings, do it immediately after pulling them from the oil before they cool down.
Grilled or Smoked Wings
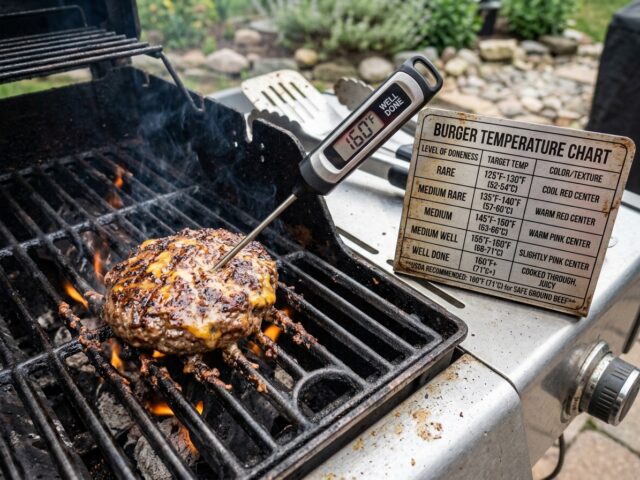
Grilling wings is where most people run into trouble. Direct flame can char the skin to a crisp in minutes while the meat near the bone stays raw. The fix is a two-zone setup. Sear the wings over direct heat to get color and crispness, then move them to the cooler, indirect side of the grill to finish cooking through. If you’re new to this, the principles in this guide on how to grill chicken apply directly to wings.
Smoked wings are a different beast entirely. At low smoking temperatures (225–275°F), wings can take 1.5 to 2.5 hours. The meat may develop a pink smoke ring near the surface even when fully cooked. Don’t panic — that pink color is a chemical reaction between the smoke and the meat proteins, not a sign of undercooked chicken. This is one situation where visual cues will actively mislead you, and a thermometer is non-negotiable.
Common Mistakes That Lead to Undercooked Wings
Even when you know what to look for, a few easy mistakes can sabotage your wings. I’ve made most of these myself, so learn from my impatience.
Cooking wings straight from the fridge. Cold wings hit the heat unevenly. The outside cooks fast while the inside stays chilly and underdone. Let your wings sit at room temperature for 15 to 20 minutes before cooking. This small step makes a noticeable difference in how evenly they cook.
Overcrowding the pan, basket, or fryer. When you pack too many wings into a small space, the temperature drops and the wings steam instead of roast or fry. Steamed wings will never get crispy, and they cook slower, which means you’re more likely to pull them before the interior is done. Give each wing some breathing room. Cook in batches if you need to.
Judging doneness by color alone. This is the big one. A wing coated in a dark rub or a sugary glaze can look deeply browned and “done” long before the meat has reached a safe temperature. Sugar caramelizes fast. Soy sauce darkens fast. Neither of those things tells you anything about what’s happening inside the meat. If you want a deeper understanding of why appearance can fool you, this piece on how to know when meat is done without cutting explains the science behind it.
Ignoring wing size variation. A bag of “party wings” from the grocery store often contains a mix of small flats and jumbo drumettes. Those jumbo drumettes can take 10 to 15 minutes longer than the small pieces. If you’re cooking a mixed batch, temp the largest wing in the group. If that one is done, the smaller ones will be done too.
Cutting into a wing to check. Slicing a wing open to peek at the meat seems logical, but it releases juices and dries out the meat. Worse, checking one wing doesn’t tell you about the rest of the batch. Use a thermometer or the visual tests above instead.
Frequently Asked Questions
What is the safe internal temperature for chicken wings?
The USDA recommends a minimum internal temperature of 165°F (74°C) for all poultry, including chicken wings. However, most cooks and pitmasters prefer to take wings to 175–185°F for better texture. At the higher range, the connective tissue breaks down fully, giving you tender meat that pulls easily from the bone. Always measure at the thickest part of the drumette, keeping the probe away from the bone.
Can chicken wings be a little pink and still be safe?
Yes, in certain situations. If you’re smoking wings, a pink smoke ring near the surface is normal and doesn’t indicate undercooked meat. Dark meat can also retain a slight pinkish tint near the bone even at safe temperatures, especially in younger birds. The only reliable way to confirm safety is by checking the internal temperature with a thermometer. If it reads 165°F or above, the wing is safe to eat regardless of color.
How long do chicken wings take to cook?
Cooking time depends on the method and the size of the wings. As a general guide, baked wings take 40–50 minutes at 400–425°F, air-fried wings take 20–25 minutes at 380–400°F, deep-fried wings take 8–12 minutes at 350–375°F, and smoked wings take 1.5–2.5 hours at 225–275°F. These are starting points, not guarantees. Always verify doneness with a thermometer or the visual cues described above, because wing size, starting temperature, and equipment variations all affect timing.
The next time you fire up a batch of wings, skip the guesswork. Grab an instant-read thermometer and aim for 175°F in the thickest drumette. Use the juice test, the pull-back test, and the wiggle test as quick checks along the way, but trust the numbers when it counts. After a few batches, you’ll develop an instinct for when wings are ready just by looking at them — but until then, the thermometer is your best friend. Now go make the crispiest, juiciest wings you’ve ever had. Your game day guests will thank you.