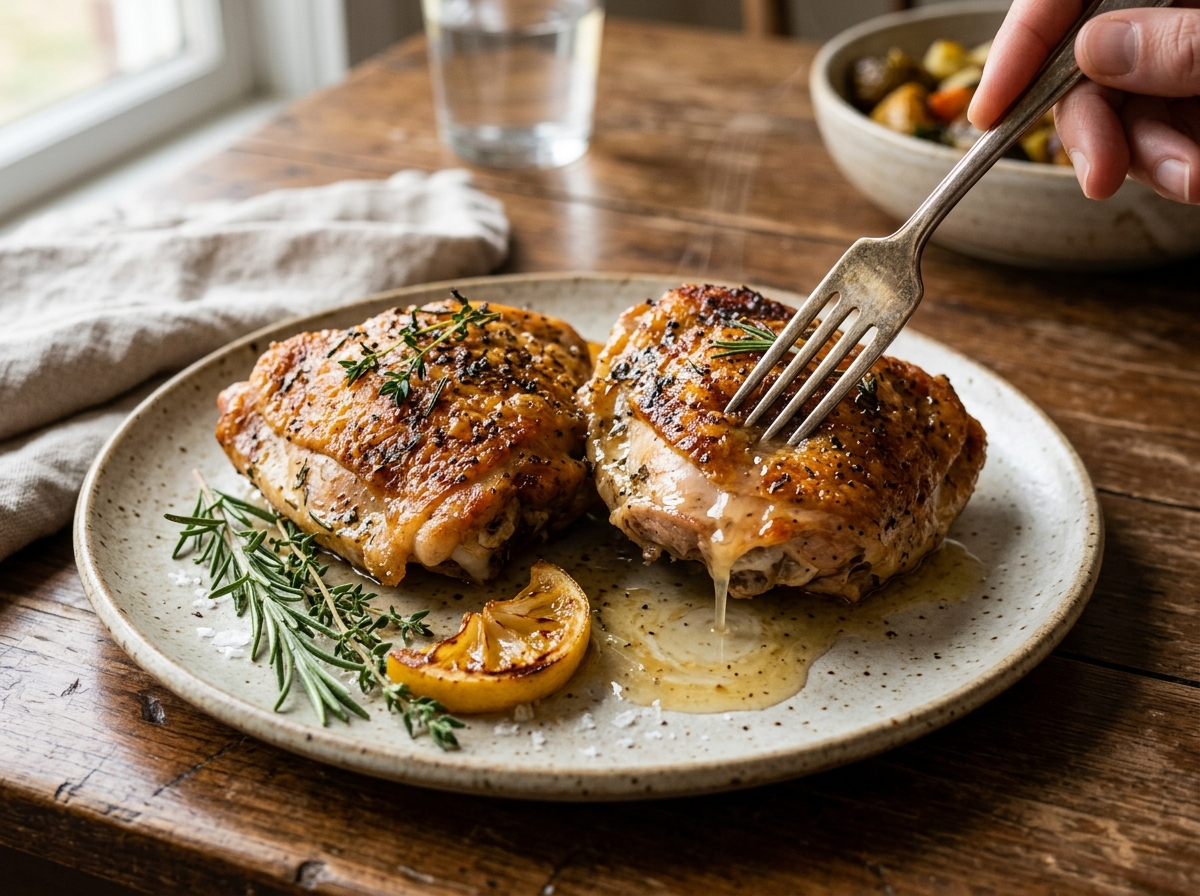
You pull a chicken thigh off the grill, cut into it, and spot a streak of pink near the bone. Your stomach drops. Is it safe? Did you just waste twenty minutes of cook time? Here’s what most recipes won’t tell you: chicken thighs play by completely different rules than chicken breasts, and the “right” temperature is probably higher than you think. Let’s sort out exactly how to tell when chicken thighs are done so you can stop second-guessing and start eating.
The Right Chicken Thigh Internal Temp (and Why It’s Higher Than You Think)
The short answer starts with a number you’ve probably memorized: 165°F. That’s the minimum safe temperature for all poultry according to the USDA Food Safety and Inspection Service. At 165°F, harmful bacteria like salmonella are destroyed almost instantly, and your chicken is technically safe to eat.
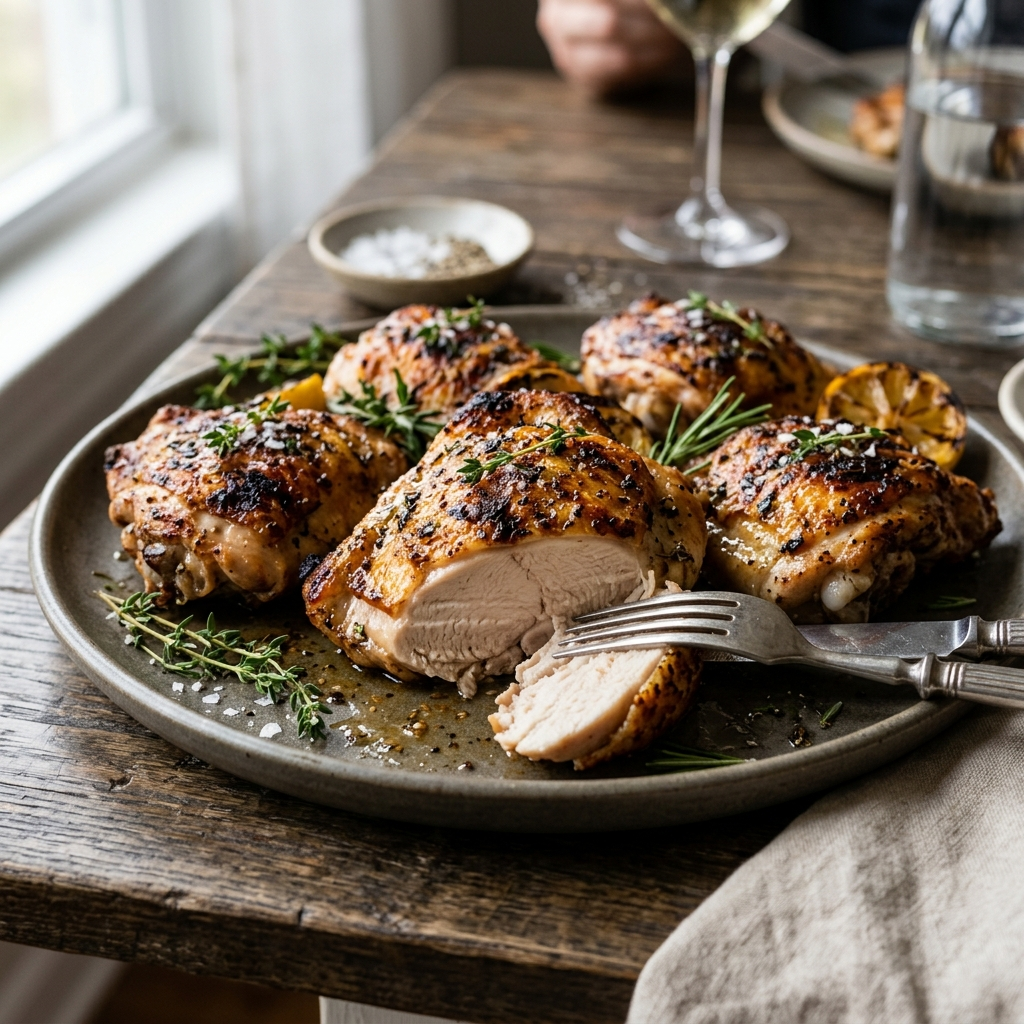
But “safe” and “good to eat” are two very different things when you’re talking about thighs.
Chicken thighs are dark meat. They come from the leg, which is a heavily used muscle. That means they’re loaded with connective tissue, collagen, and intramuscular fat. At 165°F, all that collagen hasn’t had a chance to break down yet. The result? Meat that’s technically safe but feels rubbery and chewy when you bite into it. You know that squeaky texture that makes you feel like you’re chewing on a tire? That’s underdone dark meat, even though your thermometer says 165.
The sweet spot for chicken thighs is 175°F to 185°F. In that range, the tough collagen slowly converts into silky gelatin. The fat renders out. The meat becomes tender, juicy, and almost falls off the bone. This is the single biggest mistake I see home cooks make with thighs: they pull them at 165°F because that’s the number they learned for chicken breasts, and then they wonder why the texture is disappointing.
Think of it this way. A chicken breast is a lean, delicate cut that dries out fast once it passes 165°F. A chicken thigh is a tough, fatty cut that needs more heat and more time to reach its full potential. Treating them the same is like cooking a brisket the same way you’d cook a filet mignon. It just doesn’t work.
Food writer and food scientist J. Kenji López-Alt has written extensively about this exact issue, recommending that dark meat be cooked well past the USDA minimum for the best texture. The safety floor is 165°F. The flavor and texture ceiling is somewhere around 180°F.
Food safety note: The information in this article is general guidance for home cooking. Always follow current USDA recommendations for safe poultry handling and cooking. If you’re cooking for someone who is immunocompromised, pregnant, elderly, or very young, err on the side of caution and verify temperatures carefully with a calibrated thermometer. For more on the temperature ranges where bacteria thrive, check out our breakdown of the food safety temperature danger zone.
How to Check Chicken Thighs Doneness With a Thermometer
An instant-read meat thermometer is the only method that actually tells you what’s happening inside the meat. Everything else — color, texture, timing — is a helpful clue, but none of them replace a real temperature reading. If you don’t own one yet, a basic digital thermometer costs about fifteen dollars and will change the way you cook everything, not just chicken.
Getting an accurate reading matters more than you might think, and it’s easier to mess up than most people realize.
Where to Insert the Probe
Push the thermometer probe into the thickest part of the thigh, away from the bone. This is the spot that takes the longest to cook, so it gives you the truest picture of doneness. If you hit the bone with the probe tip, you’ll get a falsely high reading because bone conducts heat faster than meat. That might trick you into pulling the chicken off the heat before the actual meat is ready.
Angle the probe so it sits in the center of the thickest section, not poking through the other side. Give it a few seconds to stabilize. Most digital thermometers lock in a reading within three to five seconds.
And don’t worry about poking holes in your chicken and letting all the juices escape. Poking meat with a thermometer does not drain a meaningful amount of juice, so go ahead and check as many times as you need while you’re learning.
Bone-In vs Boneless Thighs
Bone-in thighs take longer to cook than boneless ones, usually by about ten to fifteen minutes depending on the method. The bone acts as an insulator, slowing down heat transfer to the meat closest to it. That’s also why the area right next to the bone is the last part to finish cooking and the most likely spot to look pink even when the rest of the thigh is fully done.
For boneless thighs, the process is simpler because the heat distributes more evenly. Just probe the center of the thickest portion and you’re good. You’ll hit your target chicken thigh internal temp faster, so start checking a few minutes earlier than you would with bone-in.
Visual and Texture Clues That Your Thighs Are Ready
A thermometer should always be your primary tool, but there are times when you don’t have one handy. Maybe you’re at a friend’s house, or your thermometer battery died mid-cook (it happens to the best of us). In those situations, a few physical signs can help you make a reasonable judgment call.
The Juice Test
Pierce the thickest part of the thigh with a knife or skewer and look at the juices that run out. If they’re clear or very pale yellow, the meat is likely done. If the juices are pink or red, the thigh needs more time. This is the classic test your grandmother probably used, and it works reasonably well for a rough check.
Just know that it’s not foolproof. Juices can sometimes look slightly tinted even in fully cooked dark meat, especially in younger birds. The juice test is a helpful backup, not a replacement for a thermometer.
The Texture Test
Grab the end of the bone (if you’re cooking bone-in thighs) and give it a gentle twist. If the bone wiggles freely and feels like it’s about to pull out of the meat with almost no resistance, the collagen has broken down and the thigh is done. If the bone feels firmly attached and the meat grips it tightly, you need more time.
For boneless thighs, press the surface with your finger or tongs. Fully cooked thigh meat will feel firm but still have a little give, almost like pressing the fleshy part of your palm below your thumb. If it feels squishy and soft, it’s underdone. If it feels hard and rigid, you’ve gone too far.
What About Pink Meat Near the Bone?
This is the question that causes the most unnecessary panic. You cut into a thigh, the outer meat looks perfectly white and cooked, but right next to the bone there’s a dark pink or even reddish streak. Your first instinct is to throw it back on the heat.
Don’t panic. That pink color near the bone is usually caused by myoglobin, a protein in the muscle tissue, and by pigments from the bone marrow itself. In younger chickens, the bones are more porous, and those pigments seep into the surrounding meat during cooking. This can happen even when the internal temperature has reached a perfectly safe 175°F or higher.
The color of the meat is not a reliable indicator of safety. Temperature is. If your thermometer reads 175°F in the thickest part away from the bone, the thigh is done regardless of what the meat near the bone looks like. You can learn more about how to know when meat is done without cutting into it if you want to dig deeper into the science behind these visual cues.
Timing Guidelines by Cooking Method
People always want to know exactly how many minutes to cook chicken thighs, and I get it. A specific number feels reassuring. But cook time depends on the size of the thighs, the starting temperature of the meat, the accuracy of your oven or grill, and whether the thighs are bone-in or boneless. Use these ranges as a starting point, then rely on your thermometer to tell you when to actually pull them off the heat.
| Cooking Method | Temperature | Bone-In Thighs | Boneless Thighs |
|---|---|---|---|
| Oven roasting | 400°F | 35–45 minutes | 20–30 minutes |
| Grilling (direct) | Medium-high | 25–35 minutes | 15–20 minutes |
| Stovetop (pan-sear) | Medium | 20–28 minutes | 12–18 minutes |
| Smoking | 250–275°F | 60–90 minutes | 45–60 minutes |
These numbers assume average-sized thighs (about 5–7 ounces each) taken straight from the fridge. If your thighs are particularly large or small, adjust accordingly. And remember, the clock is a suggestion. The thermometer is the truth.
One more thing to keep in mind: carryover cooking will raise the internal temperature by about 5°F after you pull the thighs off the heat. So if you’re aiming for 180°F, you can pull them at around 175°F and let the residual heat finish the job while the meat rests. This is especially useful on the grill, where the outside of the thigh can char quickly if you leave it on too long chasing a specific number.
Why Chicken Thighs Are More Forgiving Than Breasts
If you’ve ever accidentally overcooked a chicken breast, you know the result: dry, chalky, stringy meat that no amount of sauce can save. Breasts are lean and have very little connective tissue, so once the proteins tighten up past about 165°F, the moisture gets squeezed out and there’s no going back.
Thighs are a completely different story. All that extra fat and collagen acts as a built-in insurance policy. Even if you overshoot your target temperature by ten or fifteen degrees, the rendered fat and melted gelatin keep the meat moist and tender. This is why thighs are such a great cut for beginners and for anyone who doesn’t want to babysit the grill or oven every thirty seconds.
The science behind this is straightforward. Heat affects muscle fibers and connective tissue differently depending on the cut. In a thigh, the collagen doesn’t start converting to gelatin until the meat reaches roughly 160°F, and the process accelerates between 170°F and 185°F. That’s the window where the magic happens. Below that range, the collagen is still tough. Above it, you risk drying things out eventually, but you have a much wider margin for error than you do with white meat.
This forgiving nature also makes thighs ideal for methods like braising, slow roasting, and smoking, where the meat spends a long time at moderate heat. You can cook thighs low and slow for hours and they’ll just keep getting more tender, while a breast would turn to shoe leather in the same conditions.
After you pull your thighs off the heat, let them rest for about five minutes before cutting in. This gives the juices time to redistribute through the meat instead of pooling on your cutting board. It’s a small step that makes a real difference in how juicy the final bite tastes.
5. FAQ Section
Can chicken thighs be pink and still be fully cooked?
Yes. Pink meat in chicken thighs, especially near the bone, does not automatically mean the meat is undercooked. The pink color often comes from myoglobin and bone marrow pigments that remain visible even at safe temperatures. The only reliable way to confirm doneness is to check the chicken thigh internal temp with a meat thermometer. If it reads 175°F or higher in the thickest part of the meat, the thigh is safe and done regardless of color.
How long do chicken thighs take in the oven at 400°F?
Bone-in chicken thighs typically take 35 to 45 minutes at 400°F. Boneless thighs cook faster, usually in 20 to 30 minutes. These are rough estimates for average-sized thighs straight from the refrigerator. Always verify doneness with a thermometer rather than relying on the clock alone. Larger thighs may need an extra five to ten minutes.
Is 165°F hot enough for chicken thighs?
165°F is the USDA minimum safe temperature for all poultry, so yes, thighs are safe to eat at that temperature. But most cooks and food scientists agree that dark meat tastes and feels much better when cooked to 175–185°F. At 165°F, the collagen in the thigh hasn’t fully broken down, which can leave the meat chewy and rubbery. Cooking to the higher range gives you tender, juicy results without any food safety risk.
What if I don’t have a meat thermometer?
Use the juice test and the texture test together for your best guess. Pierce the thigh and check that the juices run clear, then twist the bone (for bone-in) or press the meat to check for firmness. These methods are helpful in a pinch, but they’re not as reliable as a thermometer. A basic digital instant-read thermometer is one of the best investments you can make for your kitchen, and it takes the guesswork out of checking chicken thighs doneness every single time.
6. Closing
Your best move tonight? Grab a thermometer, aim for 175–180°F on your next batch of thighs, and pay attention to how much more tender they are compared to the 165°F pulls you’ve been doing. Once you taste the difference that extra ten degrees makes, you won’t go back. And if you’re planning a cookout and want to pair those perfectly cooked thighs with something smoky and spicy, our armadillo eggs make a killer side that holds up well on the grill.
Happy cooking — and stop stressing about that pink streak near the bone.