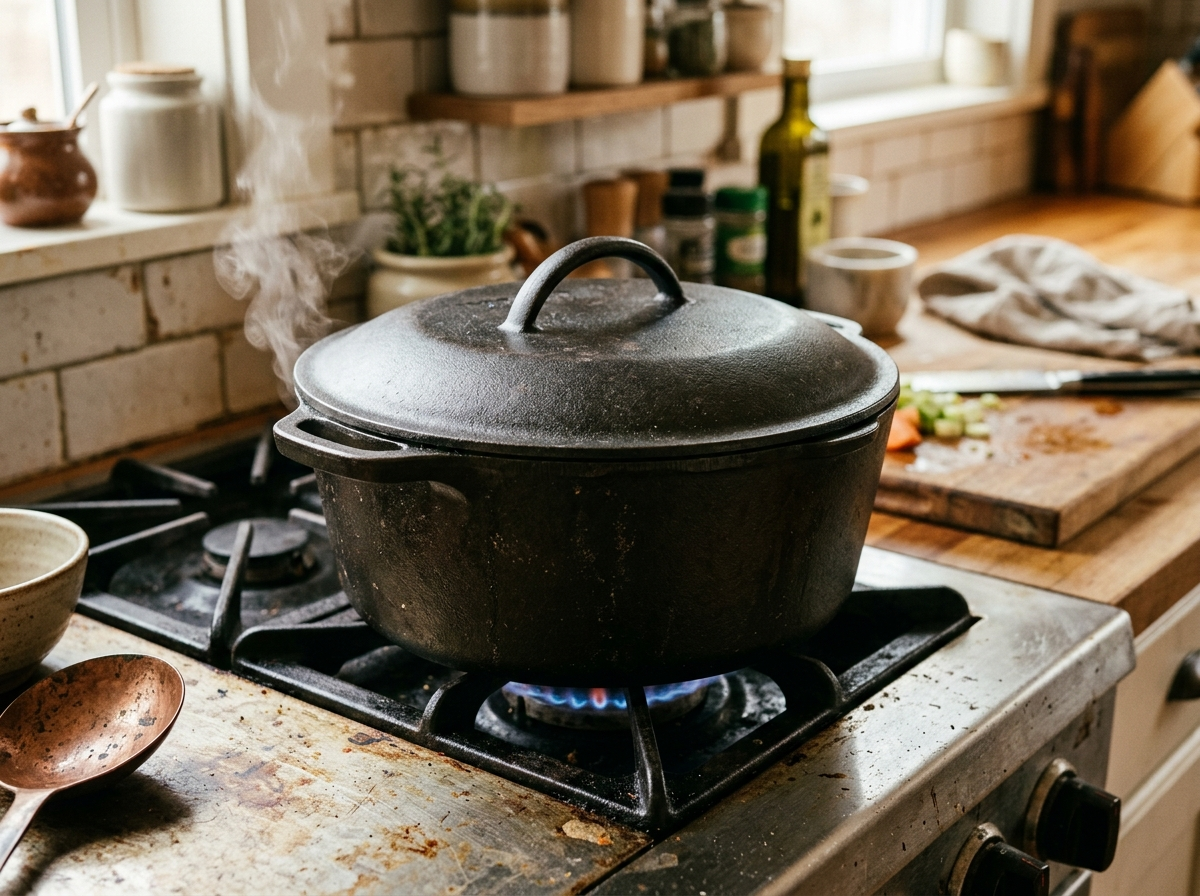
You bought a beautiful brisket, fired up the grill, and pulled it off after two hours. Then you tried to slice it and your knife basically bounced off. Sound familiar? The meat wasn’t the problem. The method was. Some cuts beg for a screaming-hot sear and a quick finish. Others need hours of gentle, patient heat to transform from tough to melt-in-your-mouth tender. Figuring out which is which is the single biggest leap you can make as a home cook.
What Does “Low and Slow” Actually Mean?
Low and slow cooking means cooking meat at a low temperature — typically between 225°F and 275°F — for a long period of time, often several hours or more. That’s the simple definition, and it’s worth memorizing because everything else in this guide builds on it.
Think of it this way. Hot and fast cooking is like sprinting. You blast the heat, get a crust, and you’re done in minutes. Low and slow is a marathon. You keep the heat gentle and steady, and you let time do the heavy lifting.
The two methods aren’t interchangeable. You wouldn’t sprint a marathon, and you wouldn’t jog a 100-meter dash. Same idea here. The cut of meat you’re holding in your hand dictates which approach will actually work.
If you want a deeper look at the other side of this coin, our guide on hot and fast meat cooking basics walks through when cranking the heat is the right call.
The Real Reason Some Meats Need Low and Slow
Here’s where a little bit of kitchen science pays off big time. You don’t need a food science degree, but understanding one concept will save you a lot of ruined dinners.
Meat is made of muscle fibers, fat, and connective tissue. The connective tissue — mostly a protein called collagen — is the key player here. Collagen is tough and chewy when it’s raw or lightly cooked. If you’ve ever bitten into a piece of gristle, you’ve met collagen.
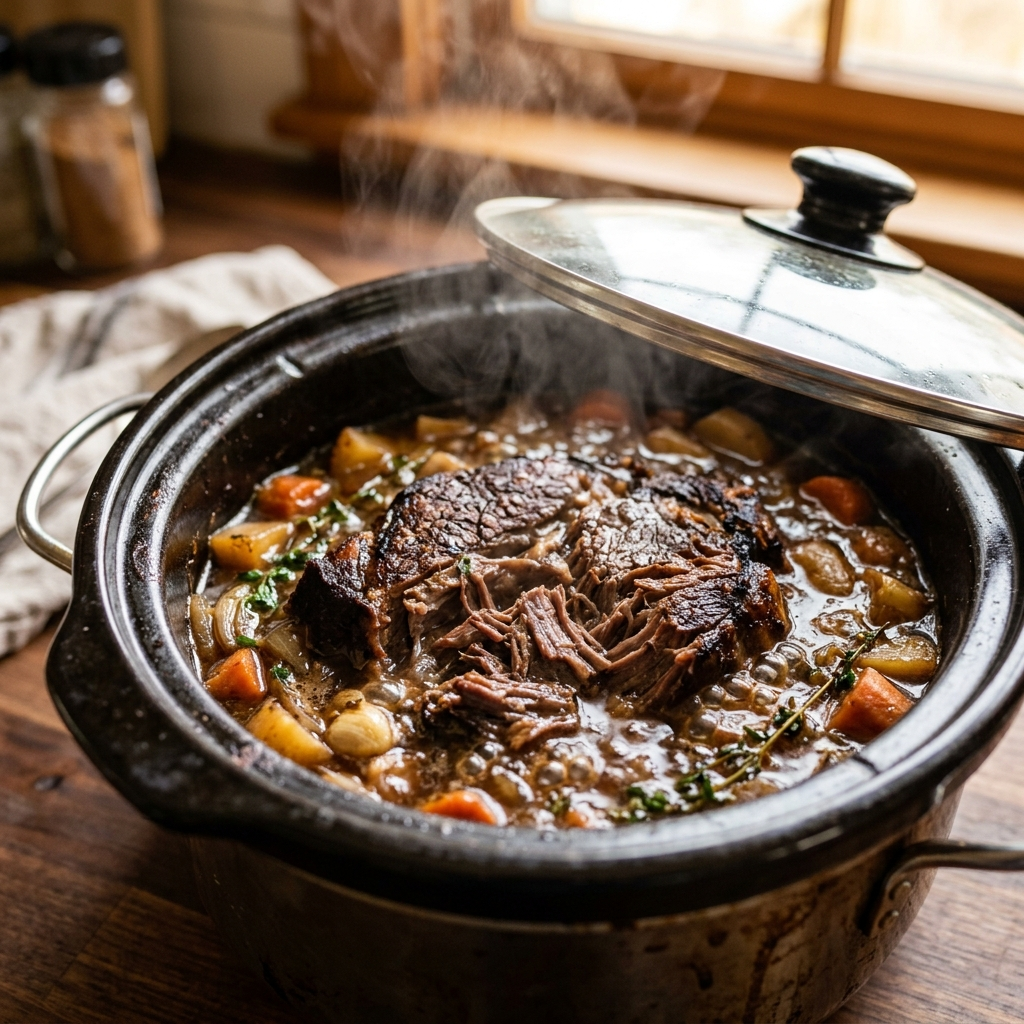
Now, here’s the magic part. When you hold meat at a low temperature for a long time, that tough collagen slowly breaks down and converts into gelatin. Gelatin is soft, silky, and it’s what gives pulled pork and braised short ribs that luscious, fall-apart texture. According to food science research from sources like Serious Eats and Modernist Cuisine, this conversion really kicks into gear when the meat’s internal temperature climbs above 160°F, and it continues all the way up to around 200°F or so.
The catch? This process takes time. You can’t rush it by cranking the heat. If you blast a collagen-heavy cut at 500°F, the outside will burn before the inside ever gets warm enough to break down that connective tissue. The result is a piece of meat that’s charred on the outside and tough as leather on the inside.
This is also why the location of the cut on the animal matters so much. Muscles that work hard — shoulders, legs, chest — develop tons of collagen because they’re constantly being used. These are your low and slow candidates. Muscles that barely move — the loin, the tenderloin — have very little collagen. They’re naturally tender and will actually dry out and turn stringy if you cook them too long.
If you’re curious about the deeper mechanics, our piece on how heat affects muscle fibers in meat goes into more detail on what’s happening at the cellular level.
Which Cuts to Cook Low and Slow (and Which to Skip)
This is the part most people actually came here for, so let’s get specific.
The cuts that love low and slow are the tough, heavily exercised muscles with lots of collagen and fat. Brisket is the classic example. A whole packer brisket can take 10 to 16 hours at 250°F, and that’s exactly what it needs. Pork shoulder (also called pork butt, confusingly) is another star. It’s loaded with connective tissue and intramuscular fat that slowly renders out over 8 to 12 hours, leaving you with meat you can pull apart with your fingers.
Beef chuck roast, short ribs, lamb shanks, and beef cheeks all fall into this same category. They’re inexpensive cuts that transform into something extraordinary when you give them enough time. Even chicken thighs and legs do well with a longer, gentler cook compared to the breast, though they don’t need nearly as many hours as a brisket.
The cuts that hate low and slow are the lean, tender ones. Ribeye, strip steak, filet mignon, pork chops, and chicken breasts all have very little collagen to break down. If you put a ribeye in a 225°F smoker for six hours, you won’t get a better steak. You’ll get a dry, gray, overcooked disappointment. These cuts want high heat, a fast cook, and a quick rest.
Here’s a quick reference to keep things straight:
| Cut | Best Method | Why |
|---|---|---|
| Brisket | Low and slow (225–275°F, 10–16 hrs) | Heavy collagen needs time to convert to gelatin |
| Pork shoulder | Low and slow (225–275°F, 8–12 hrs) | Tons of connective tissue and fat to render |
| Beef chuck roast | Low and slow (250–300°F, 4–6 hrs) | Tough working muscle that softens with time |
| Short ribs | Low and slow (250–275°F, 5–7 hrs) | Dense collagen between the bones |
| Ribeye steak | Hot and fast (450°F+, 8–12 min) | Already tender; long cook dries it out |
| Chicken breast | Hot and fast (375–450°F, 15–25 min) | Very lean; overcooks easily |
| Pork tenderloin | Hot and fast (400°F+, 20–25 min) | Almost no collagen; best served slightly pink |
The general rule is simple. If the cut comes from a part of the animal that moves a lot, cook it low and slow. If it comes from a part that barely moves, cook it hot and fast.
Low and Slow Temperature and Timing Basics
So you’ve picked the right cut. Now what temperature should you actually set your smoker, grill, or oven to?
For most low and slow cooks, you want your cooking environment between 225°F and 275°F. The lower end of that range gives you more margin for error and tends to produce a better bark — that dark, flavorful crust on the outside of smoked meat. The higher end speeds things up a bit without sacrificing too much tenderness. If you’re just starting out, 250°F is a great middle ground.
As for timing, plan on roughly 1 to 1.5 hours per pound for large cuts like brisket and pork shoulder. But treat that number as a rough estimate, not a promise. Every piece of meat is different. The thickness, the fat content, the starting temperature, and even the weather outside can all affect how long your cook takes.
Dealing With the Stall
Somewhere around 150°F to 170°F internal temperature, your meat will probably stop climbing in temp for what feels like forever. This is called the stall, and it happens because moisture evaporating from the surface of the meat cools it down at roughly the same rate your heat source warms it up. It’s completely normal, and it’s not a sign that something went wrong. If you want to understand exactly what’s happening during this frustrating phase, our BBQ stall explainer breaks it down in plain language.
Your best friend during any low and slow cook is a reliable meat thermometer. Don’t guess. Don’t go by time alone. Cook to temperature, not to the clock. For pulled pork, you’re looking for an internal temp of around 195°F to 205°F. For brisket, the same range applies, though many pitmasters also test for “probe tenderness” — the point where a thermometer probe slides into the meat with almost no resistance, like pushing it into warm butter.
Food safety note: During long cooks, it’s critical that your meat passes through the temperature danger zone (40°F–140°F) quickly enough to stay safe. The USDA recommends that meat should not sit in this range for more than two hours. Our food safety temperature danger zone guide covers this in more detail. This is general cooking information and not a substitute for official USDA food safety guidelines. Always follow current USDA recommendations for safe minimum internal temperatures, available at usda.gov/food-safety.
Practical Tips for Your First Low and Slow Cook
If you’re about to attempt your first brisket or pork shoulder, here are a few things I wish someone had told me before I wasted a perfectly good Saturday staring at a thermometer.
Start with pork shoulder, not brisket. Brisket is the glamorous cut of the barbecue world, but it’s also the least forgiving. Pork shoulder has so much fat and connective tissue that it’s almost impossible to mess up. Even if your temperature fluctuates or you overshoot by 30 minutes, you’ll still end up with delicious pulled pork. Build your confidence there first, then graduate to brisket when you’re ready.
Don’t peek every 30 minutes. Every time you open the lid of your smoker or grill, you lose heat and add time to your cook. It’s tempting to check on things, especially when you’re new to this, but trust the process. Set your thermometer alarm, grab a drink, and go do something else for a couple of hours. The meat doesn’t need your supervision.
Consider wrapping. When your meat hits the stall (usually around 160°F to 170°F internal), you can wrap it tightly in butcher paper or aluminum foil. This traps moisture and pushes the meat through the stall faster. It’s not cheating — it’s a technique used by competition pitmasters and backyard cooks alike. Butcher paper lets a little more moisture escape, which helps preserve your bark. Foil creates a tighter seal and speeds things up more, but it can soften the crust.
Rest the meat before you slice it. This is non-negotiable. When you pull a big cut off the heat, the juices inside are still moving around and redistributing. If you cut into it right away, those juices will pour out onto your cutting board instead of staying in the meat. For a pork shoulder or brisket, plan on resting the meat for at least 30 to 60 minutes, loosely tented with foil. Our guide on why resting meat matters explains the science behind this step and why skipping it is one of the biggest mistakes home cooks make.
Know the difference between grilling and barbecuing. This trips up a lot of beginners. Grilling means cooking directly over high heat — think burgers and steaks. Barbecuing means cooking indirectly at low temperatures with smoke — think brisket and ribs. If you want to cook low and slow on a standard kettle grill, you’ll need to set up a two-zone fire with the coals on one side and the meat on the other. Our breakdown of grilling vs. BBQ clears up the confusion.
Frequently Asked Questions
What temperature is considered low and slow?
Low and slow cooking typically happens between 225°F and 275°F. Some recipes push up to 300°F, which is still considered low and slow for larger cuts. Anything below 225°F risks keeping the meat in the food safety danger zone for too long, so it’s best not to go lower unless you’re using a controlled smoker with good airflow and you know your setup well.
Can you cook any meat low and slow?
Technically, yes. You can put any piece of meat in a low-temperature cooker and leave it there. But that doesn’t mean you should. Lean, tender cuts like chicken breast, pork tenderloin, and most steaks will dry out and become stringy if cooked low and slow because they don’t have enough collagen or fat to keep them moist during a long cook. Low and slow works best for tough, fatty, collagen-rich cuts like brisket, pork shoulder, and chuck roast.
Why is my low and slow meat still tough?
If your meat is tough after a long cook, it almost certainly didn’t reach a high enough internal temperature. Collagen doesn’t start converting to gelatin until the meat hits around 160°F internally, and the process really accelerates above 180°F. For pulled pork and brisket, you need an internal temp of at least 195°F to 205°F. If you pulled the meat at 170°F thinking it was done, that’s your answer. Put it back on the heat and give it more time.
The biggest lesson in low and slow cooking is patience. Your first cook might take longer than you expected. Your second one might stall for three hours and make you question every life choice that led you to this moment. That’s normal. The breakthrough happens when you finally slice into a brisket that falls apart under its own weight, or pull a pork shoulder that shreds with nothing but a couple of forks.
Start with a forgiving cut like pork shoulder, keep your temperature steady around 250°F, cook to internal temperature instead of time, and resist the urge to open the lid. The rest will come with practice. Your future self — and your dinner guests — will thank you.