
You pull a chicken breast out of the pan. It looks fine on the outside — golden, maybe a little charred at the edges. You cut into it, and it’s dry as cardboard. Sound familiar?
That dry, disappointing bite is exactly the problem a brine solves. If you’ve heard the word thrown around during Thanksgiving season or seen it in a recipe and skipped right past it, you’re not alone. A lot of home cooks treat brining like an optional extra step that sounds complicated. It’s not. And once you understand what’s actually happening to your meat when it sits in salt water, you’ll wonder why you didn’t start doing it sooner.
So let’s break down what a brine actually is, why it works, and when it’s worth your time — no chemistry degree required.
What Is a Brine, Exactly?
A brine is a solution of salt dissolved in water. That’s it. At its most basic, you stir salt into cold water until it dissolves, submerge your meat, and wait. Some recipes add sugar, herbs, peppercorns, or citrus to the mix, but the backbone of every brine is just salt and water.
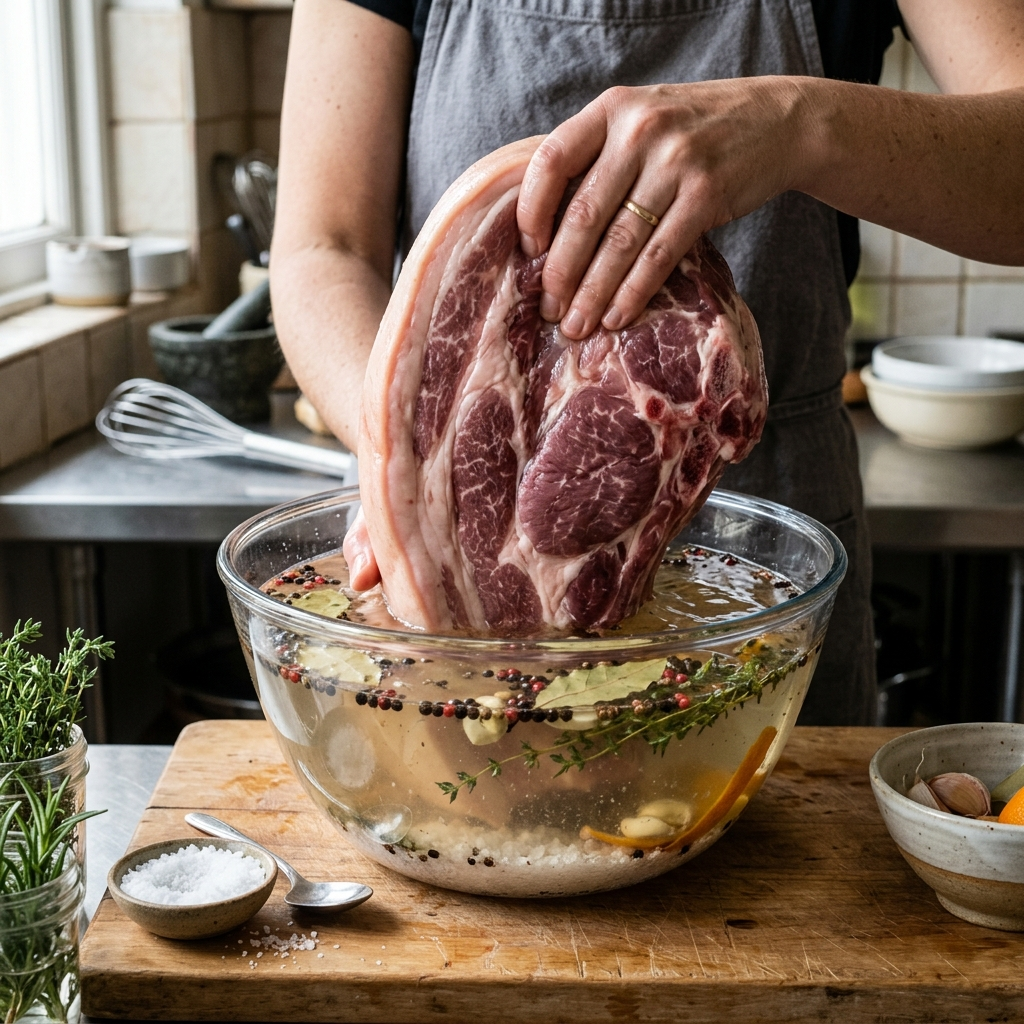
The word “brine” might sound fancy, but humans have been using salt water to preserve and flavor food for thousands of years. Long before refrigerators existed, brining was one of the main ways people kept meat from spoiling. These days, we mostly use it for flavor and texture rather than preservation, but the basic idea hasn’t changed.
You’ll see two main types: a wet brine, where the meat sits submerged in salted water, and a dry brine, where you rub salt directly onto the surface of the meat and let it rest uncovered in the fridge. Both work through similar principles, but they behave a little differently in practice. We’ll get into that comparison shortly.
The key thing to understand is that a brine is not the same as a marinade. A marinade typically uses acid — vinegar, citrus juice, yogurt — to tenderize the surface of the meat and add flavor. A brine uses salt to change the meat’s internal structure. If you want a deeper comparison of other prep methods, this breakdown of marinade vs. rub covers how those techniques differ, and brining sits in its own lane alongside both.
Why Brine Meat? The Science Made Simple
Here’s where most articles either get too nerdy or too vague. Let’s find the middle ground.
When you cook meat, the heat causes the muscle fibers to contract and squeeze out moisture. Think of wringing out a wet towel. The hotter and longer you cook, the tighter those fibers squeeze, and the drier your meat gets. This is true whether you’re grilling, roasting, or smoking. If you’re curious about the specifics, this piece on how heat affects muscle fibers in meat goes into more detail.
Brining gives those muscle fibers a head start. When meat sits in a salt solution, two things happen.
First, salt changes the protein structure. The salt ions interact with the proteins in the muscle, causing them to partially unwind and loosen up. Food scientist Harold McGee explains this process in his landmark book On Food and Cooking — the dissolved salt essentially disrupts the protein filaments so they can’t contract as tightly during cooking. Looser proteins mean less squeezing, which means more moisture stays inside the meat.
Second, the meat absorbs extra water. Through a process called osmosis, the salt solution moves into the meat cells, plumping them up with additional moisture. So even when some of that water cooks off, the meat still has more moisture left than it would have had without brining.
The result? Meat that stays juicier, even if you accidentally overcook it by a few degrees. And that’s a big deal for lean cuts like chicken breasts, pork chops, and turkey, which have very little fat to keep them moist on their own.
The “Salty Meat” Worry
A lot of people skip brining because they assume it’ll make their food taste like a salt lick. That’s a fair concern, but it’s mostly a misconception — as long as you use the right ratio. A standard brine uses about one tablespoon of table salt per cup of water, or roughly a quarter cup of kosher salt per quart, since kosher salt crystals are larger and less dense by volume. At that concentration, the salt seasons the meat evenly from the inside out rather than making it taste overtly salty.
Choosing the right salt matters here. If you’re unsure which type to grab from your pantry, this guide to the right salt for the right job clears up the differences between kosher, table, and sea salt.
Benefits of Brining You’ll Actually Notice
The science is nice, but what does brining actually do for you on a Tuesday night when you’re trying to get dinner on the table?
Juicier meat, especially lean cuts. This is the big one. Chicken breasts, pork tenderloin, turkey — these cuts have almost no internal fat to protect them from drying out. Brining acts as an insurance policy. I remember the first time I brined pork chops on a whim before throwing them on the grill. I’d always ended up with tough, chalky chops no matter how carefully I watched the temperature. After a four-hour soak in a basic salt-and-sugar brine, the difference was almost hard to believe. Same grill, same cooking time, completely different texture. The meat was tender and juicy all the way through, not just at the center.
More even seasoning. When you salt the outside of a steak right before cooking, the seasoning stays on the surface. With a brine, the salt penetrates deep into the meat over several hours. Every bite is seasoned, not just the crust. This is especially helpful for large cuts like a whole turkey, where getting seasoning to the interior is nearly impossible with surface salt alone.
A bigger margin for error. Let’s be honest — not everyone nails the internal temperature every single time. Brining buys you a buffer. Because the meat starts with more moisture and looser proteins, it can handle an extra five or ten degrees of overcooking without turning into shoe leather. That’s a real comfort when you’re cooking for a crowd and can’t babysit the thermometer the entire time.
Better browning and texture. The salt in a brine helps break down surface proteins, which can lead to a nicer crust when you sear or roast. The sugar in many brine recipes also promotes caramelization, giving you that appealing golden-brown color.
When Brining Helps — and When It Doesn’t
Brining is not a magic fix for every piece of meat. Knowing when to skip it will save you time and prevent disappointing results.
Brining shines with lean, mild-flavored meats that dry out easily. Chicken (whole birds, breasts, thighs), turkey, pork chops, pork tenderloin, and shrimp are all excellent candidates. These are the cuts that benefit most from the extra moisture and even seasoning.
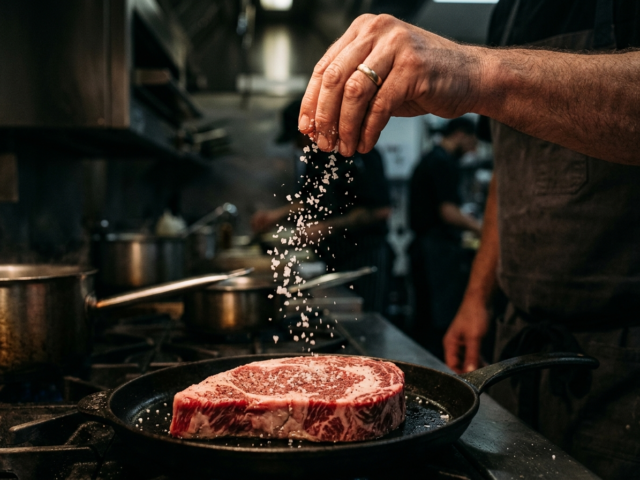
Brining is less useful — and sometimes counterproductive — with meats that are already well-marbled or fatty. A ribeye steak, for example, has plenty of internal fat that keeps it juicy during cooking. Brining it won’t ruin it, but it won’t make a noticeable difference either, and you risk diluting the beefy flavor you paid good money for. The same goes for lamb and duck, which have rich, distinct flavors that a brine can muddy.
You also don’t need to brine meat that’s already been processed with a salt solution. Many supermarket chickens and pork products are injected with a saline solution at the factory — check the label for language like “contains up to 12% of a solution.” Brining these again can push them into oversalted territory.
Wet Brine vs. Dry Brine: Which Should You Pick?
This is the question that trips up a lot of home cooks, so let’s keep it straightforward.
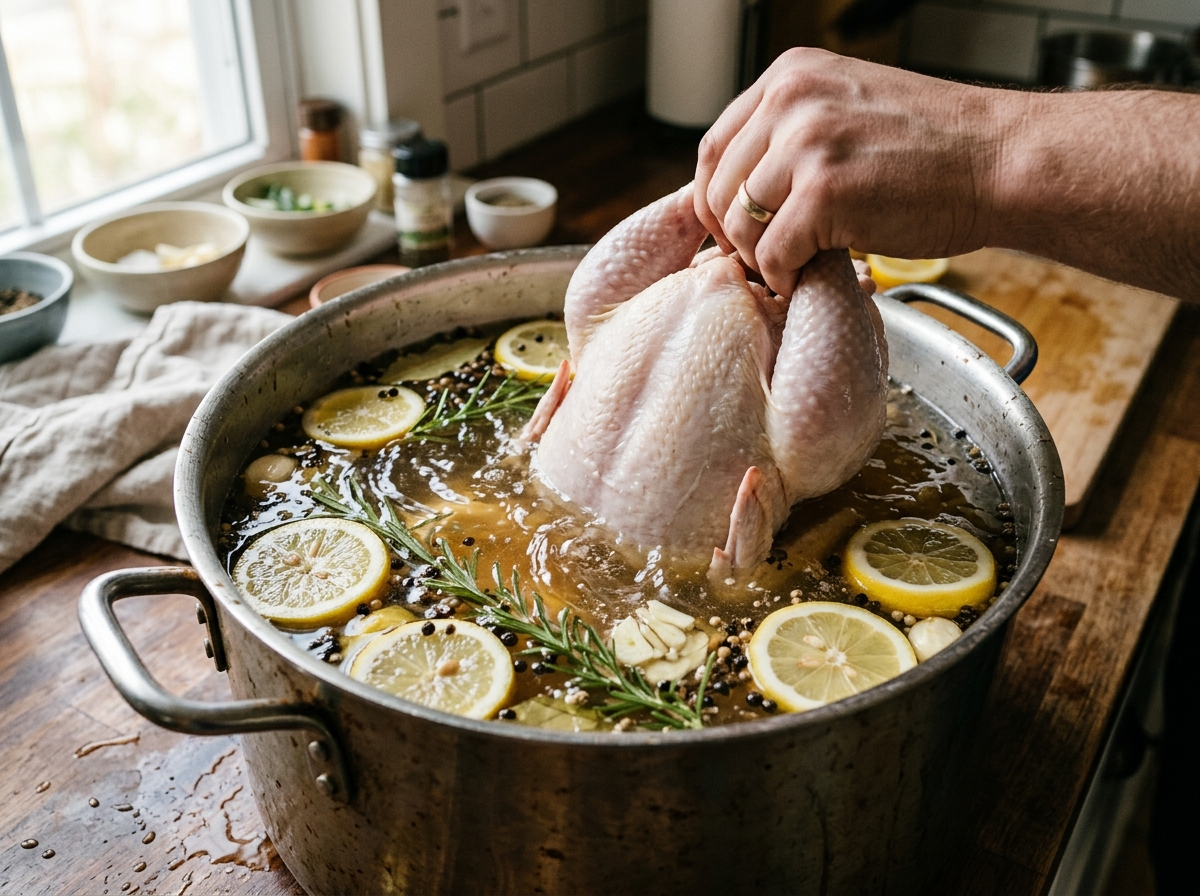
A wet brine is the traditional method. You dissolve salt (and usually sugar) in water, sometimes with aromatics like garlic, bay leaves, or peppercorns, and submerge the meat completely. It works fast and is great for poultry and pork. The downside? It takes up a lot of fridge space, and the extra water on the meat’s surface can make it harder to get a crispy skin or crust. You’ll need to pat the meat very dry before cooking.
A dry brine is simpler. You rub kosher salt directly onto the meat’s surface and let it sit uncovered in the fridge for several hours or overnight. The salt draws out moisture from the meat, dissolves in that moisture, and then gets reabsorbed — essentially brining the meat in its own juices. The big advantage is that the surface dries out in the fridge, which gives you incredibly crispy skin on chicken and turkey. J. Kenji López-Alt has written extensively about dry brining on Serious Eats and considers it superior for most poultry applications. (Editor’s note: verify the specific Serious Eats URL for linking — search “Serious Eats dry brine turkey López-Alt” for the exact article.)
So which should you choose? If crispy skin is your priority — think roast chicken or Thanksgiving turkey — go dry. If you’re working with smaller, quicker-cooking cuts like shrimp or thin pork chops and want maximum moisture, a wet brine is faster and more effective. Both methods work. Neither is wrong.
If you want step-by-step instructions for either approach, this how to brine guide walks through the process in detail.
Brine Solution Explained: A Quick How-To
You don’t need a complicated recipe to get started. Here’s the basic framework for a standard wet brine.
Start with cold water — enough to fully submerge your meat. Dissolve kosher salt into the water at a ratio of about one-quarter cup per quart of water. If you want, add a couple tablespoons of sugar per quart to help with browning and balance the salt. Toss in any aromatics you like: crushed garlic cloves, a handful of peppercorns, a sprig of rosemary, a bay leaf. Stir until the salt and sugar are fully dissolved.
Place your meat in a non-reactive container — glass, plastic, or stainless steel work well, but avoid aluminum — and pour the brine over it. Make sure the meat is completely submerged. A small plate on top can help keep floating pieces under the surface.
Now for timing. This is where people get nervous, but the guidelines are pretty forgiving. Shrimp and thin fish fillets need only 15 to 30 minutes. Chicken pieces and pork chops do well with 2 to 4 hours. A whole chicken or pork loin can go 8 to 12 hours. A whole turkey can brine for 12 to 24 hours. Going significantly longer than these windows can make the meat mushy and overly salty, so set a timer and don’t forget about it.
⚠️ Food Safety Note: Always brine in the refrigerator, never on the counter. Raw meat sitting in liquid at room temperature is a serious food safety risk. The USDA recommends keeping perishable foods below 40°F at all times. If you want to understand the temperature range where bacteria multiply fastest, this article on the food safety temperature danger zone explains the specifics. This is general food safety information and not a substitute for professional food handling guidance — always follow USDA and local health authority recommendations. (Editor’s note: for a direct USDA source, link to the FSIS poultry handling page at fsis.usda.gov — verify the current URL.)
When the brining time is up, remove the meat, rinse it briefly under cold water (especially if you used a heavy brine), and pat it thoroughly dry with paper towels. Drying the surface is critical if you want good browning. Then cook as you normally would.
One more thing — don’t add extra salt to your cooking until you’ve tasted the finished product. The brine has already seasoned the meat internally, and you might find you don’t need any additional salt at all.
Frequently Asked Questions
How long should I brine meat?
It depends on the size and type of meat. Shrimp and thin fish fillets only need 15 to 30 minutes. Chicken pieces and pork chops are best at 2 to 4 hours. A whole chicken or pork loin can brine for 8 to 12 hours, and a whole turkey can go 12 to 24 hours. The general rule is about one hour per pound for large cuts, but always check a recipe specific to your protein. Over-brining can make the texture mushy and the flavor too salty, so more time is not always better.
Can I reuse a brine solution?
No. Once raw meat has been sitting in a brine, the liquid contains bacteria from the raw protein and should be discarded. Never reuse brine for a second batch of meat, and don’t use it as a sauce or gravy base unless you bring it to a full, rolling boil first — and even then, most cooks just toss it. It’s not worth the food safety risk.
Does brining make meat taste too salty?
Not if you use the right ratio and timing. A standard brine of one-quarter cup kosher salt per quart of water, used for the recommended time, seasons the meat evenly without making it taste salty on the surface. The goal is balanced, internal seasoning. If your brined meat tastes too salty, you likely used too much salt, brined for too long, or brined a product that was already pre-injected with a sodium solution at the factory.
Brining isn’t a secret technique reserved for professional kitchens or competition barbecue teams. It’s a simple, low-effort step that solves one of the most common problems home cooks face: dry, bland meat. A container, some salt, some water, and a few hours in the fridge can completely change the way your chicken, pork, and turkey turn out.
The next time you’re planning to cook a lean cut, give yourself a little head start. Mix up a basic brine the night before or the morning of, and let the salt do the heavy lifting. You might not go back to skipping this step once you taste the difference.
If you’re ready to try it out, grab your favorite protein and check out this how to brine walkthrough for exact ratios and timing. And remember — letting your meat rest after cooking is just as important for keeping those juices locked in, so don’t skip that step either. Your taste buds (and your dinner guests) will thank you.

1 Comment